Item Inspect Setup
Now if you want to Interact with an object while in examine mode, this component will help you.
Overview
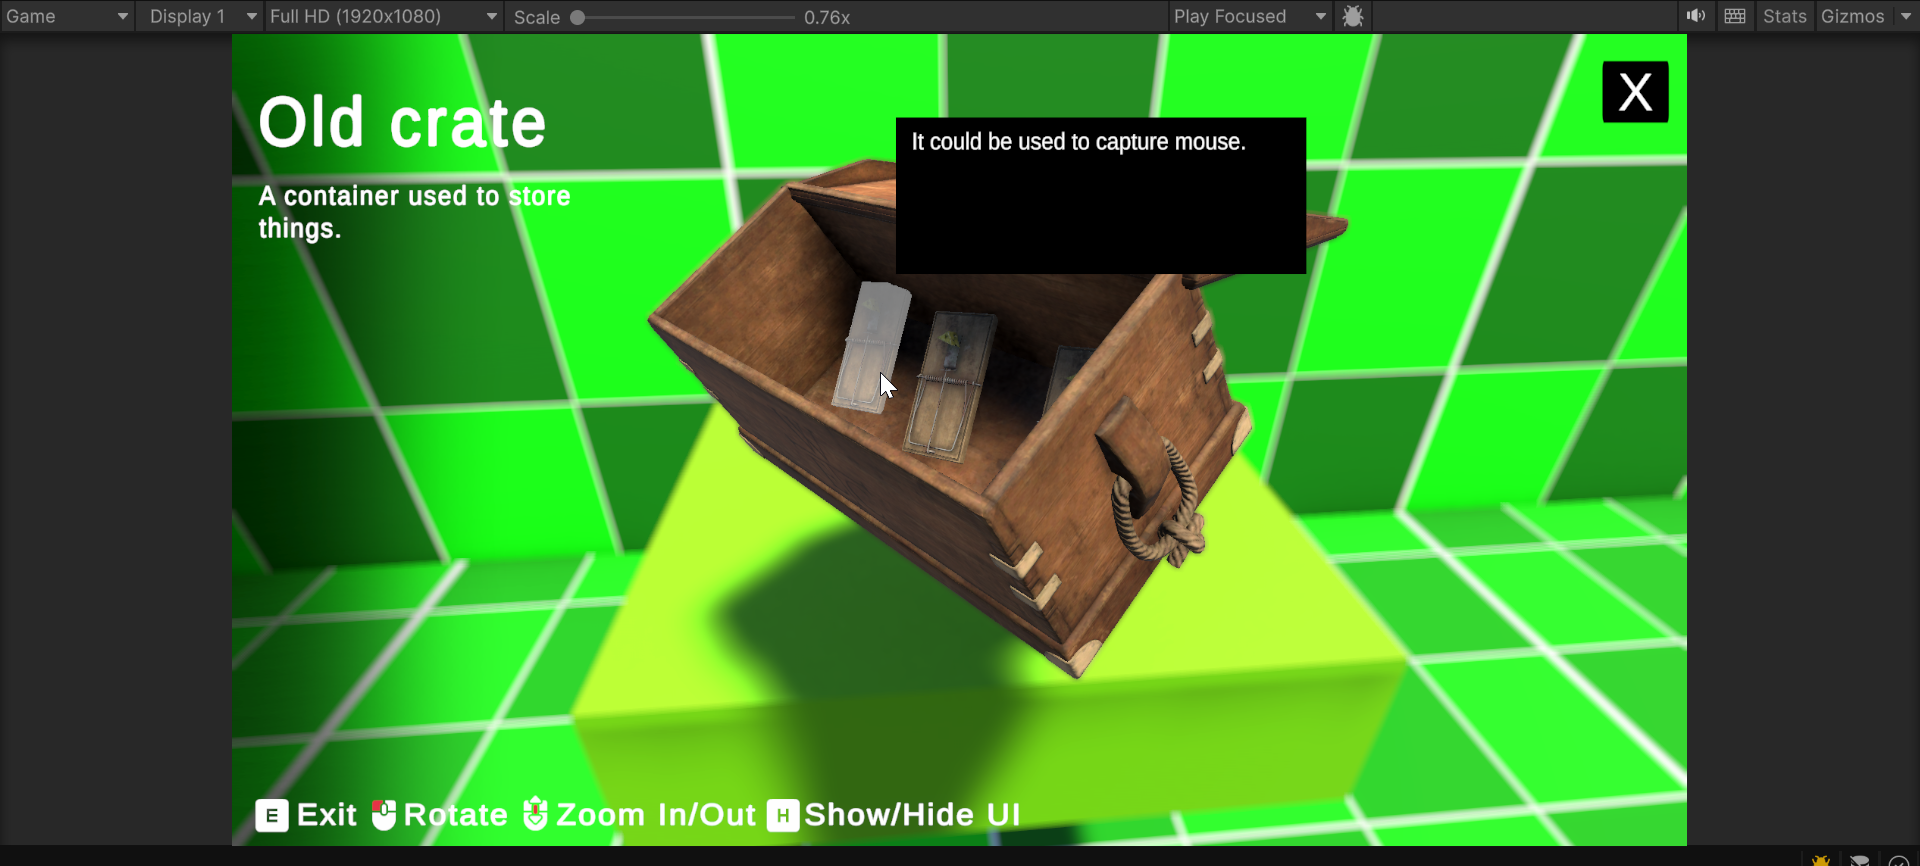
Item Inspect example
It is similar to InspectPoint but it offers more things specially made for Item Interaction.
Setup
Add the Item Interact Component to interact with an object in the examine state.
Once you add the component you will see this.
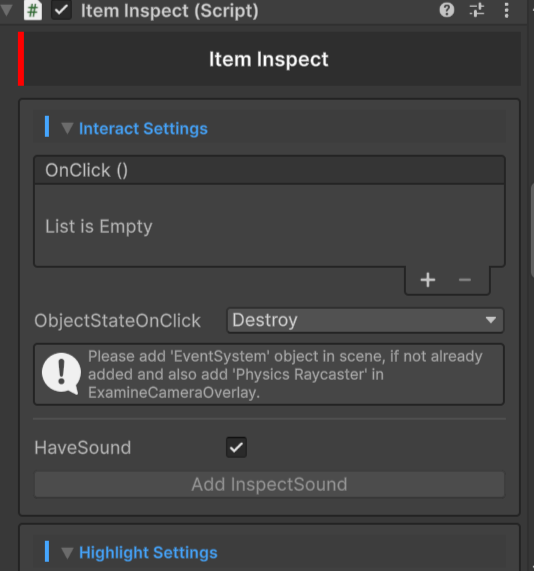

Explaining
And now we can finally start the setup and it would be easier to understand as it is similar to InspectPoint.
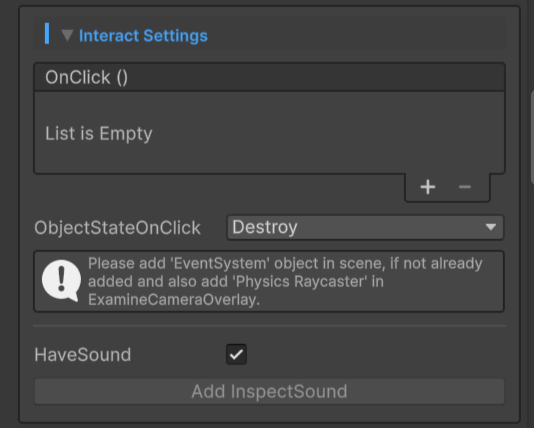
Interact Settings
-
OnClick → Here you can add your custom Methods to do custom things, and this OnClick event is activated when you click on Item Inspect. It works similarly to a UI button.
-
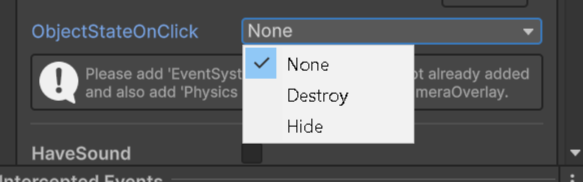
ObjectStateOnClick → There are three options to choose, gets activated when you clicked on Item Inspect.
| Options | Description |
|---|---|
| None | Does nothing. |
| Destroy | Destroys on click. |
| Hide | Hides on click, but gets activated every time you re-enter in examine state. |
Cursor not visible because it was recorded using Unity Recorder
Please add EventSystem if not already in scene and ensure Physics RayCaster is present in ExamineOverlayCamera.
After that you will see one option named HaveSound.

- HaveSound → Enable it, if you want to have sound in this Item Inspect.
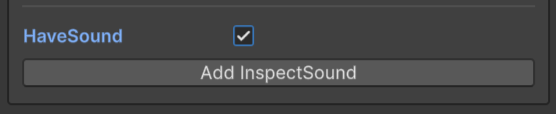
Click on Add InspectSound to add InspectSound script.
After clicking it will add a new script in Item Inspect object.
Inspect Sound is explained here → InspectSound Setup.
HighLight Settings
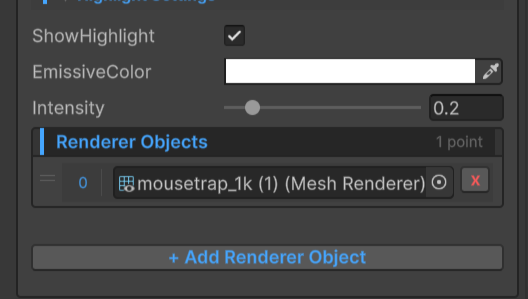
- ShowHighlight → Enable it, if you want to show an emission highlight when the player hovers over the ItemInspect object with the mouse.
- EmissiveColor → You can control your emissive color from here.
- Intensity → Here you can control the intensity of your emissive color.
After that you will see an empty list of Renderer Objects.

Here you can add your objects on which you want to show the highlight.
AfterClickLabel Settings
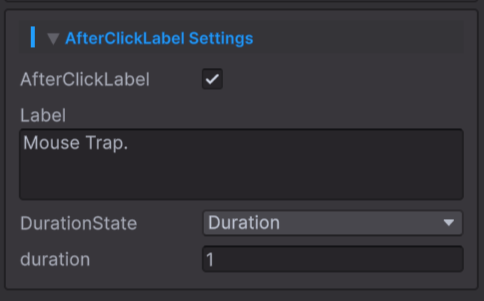
- AfterClickLabel → Enable it, if you want to show a label after you click on ItemInspect. It could be helpful if you want to indicate to the player with Text that something has happened after clicking on ItemInspect.
Like — "Object has added to inventory".
After enabling AfterClickLabel you will see three fields.
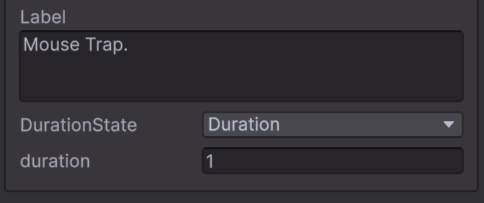
- Label → Here add the Text that you want to show.
- DurationState → Here are two options that you can change.
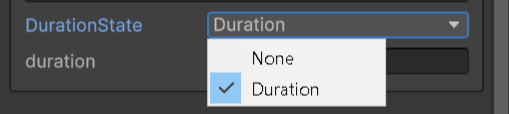
| Options | Description |
|---|---|
| None | Does nothing. |
| Duration | Use it, if you want to show the Label for a limited time. |
And when you set DurationState to Duration, one more option will appear.

- Duration → Here you can select how long you want the label to stay.
But setup for AfterClickLabel is not yet completed.
Lets setup UI for it.
AfterClickLabel UI Setup
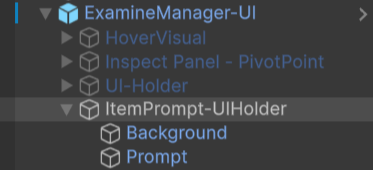
Lets first look at UI for AfterClickLabel. If you go under ExamineManager-UI you will see an object named ItemPrompt-UIHolder
-
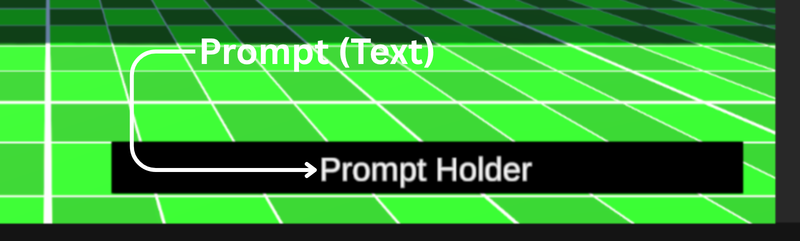
ItemPrompt-UIHolder → It holds the content like Background and Prompt(Text).
-
Background → This is the object that acts as Background behind Prompt(Text).
 →
→
It is just an Image so customize it however you want.
- Prompt → It is the Text that will display whatever you have written in AfterClickLabel in the Label field.
 →
→
Now we only have to setup the UI script.
Item Inspect UI Manager Script Setup
This is a very small script setup.
You will find an object named Item Inspect UI Manager under ExamineManager object.
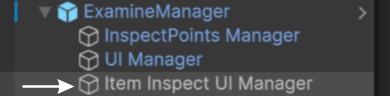
In this object you will find a script named Item Inspect UI Manager.
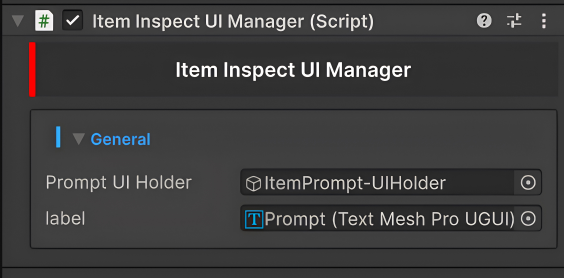
- Prompt UI Holder → Add the object that holds the UI like Background, Text, and other content.
- Label → Add the text object that will display whatever you have written in AfterClickLabel in the Label field.
Done...
AfterClickLabel example
If you want InspectPoint features in your ItemInspect object, just add the InspectPoint script where the ItemInspect script is present.
Just do not forget to disable Interact Settings and WillFaceYou from the InspectPoint script, and now you are done.
If you want to change the text in the Label field to something else.
Just use this method. By the way, this method is present in the Item Inspect script.
public void ChangeLabel(string newLabel)
{
   label = newLabel;
}