📟 Examine Manager setup
How you can setup your Examine Manager
Overview
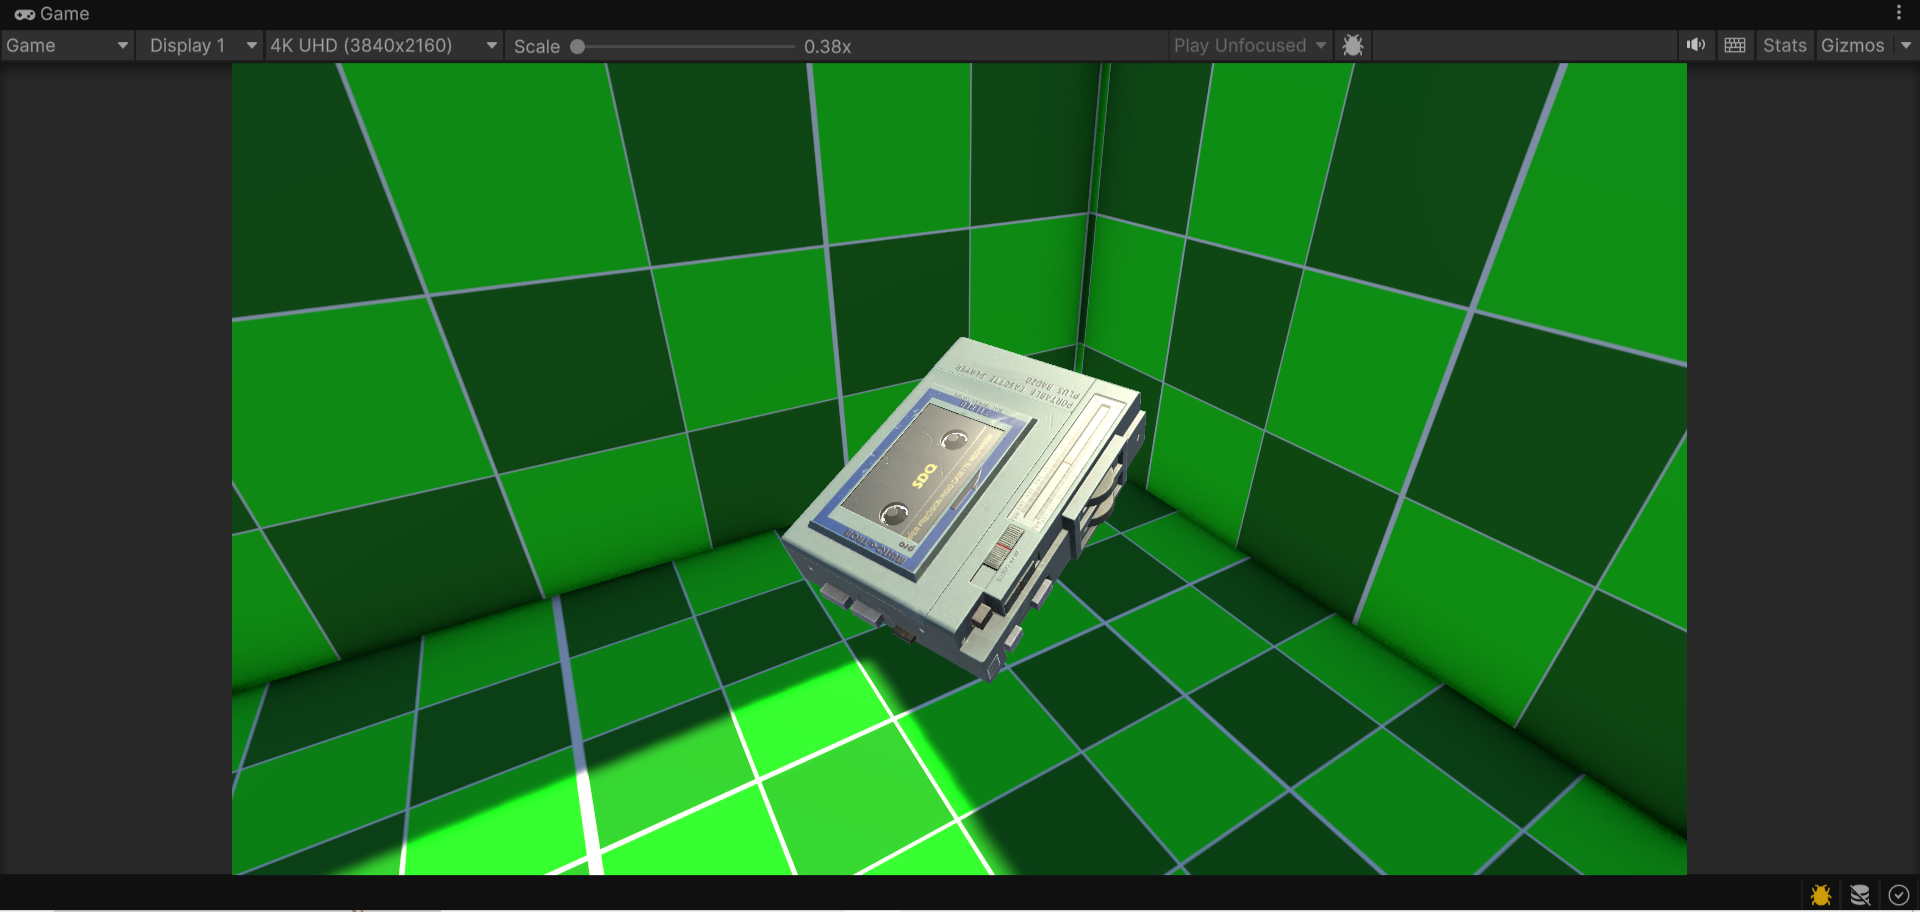
when you will first open Examine Manager you will see this.
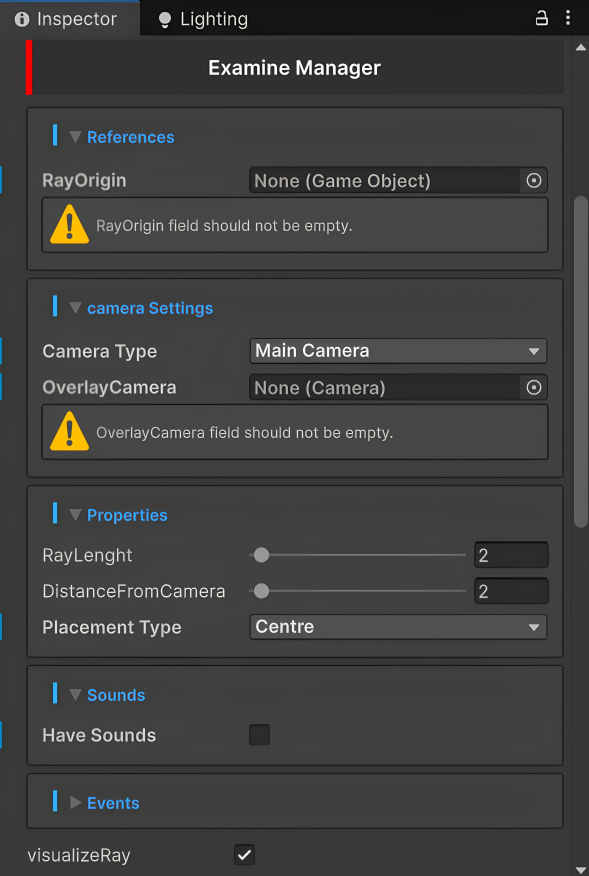
Explaining
References
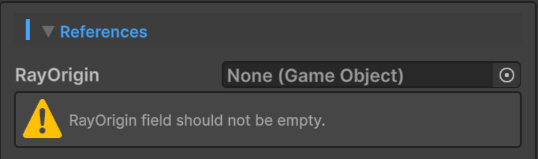
- RayOrigin → In this field you have to add your GameObject like Player Camera that will be the starting point of your raycast.
Camera Settings
Here you will find two fields.
-- Camera Type and Overlay Camera
- Camera Type:-
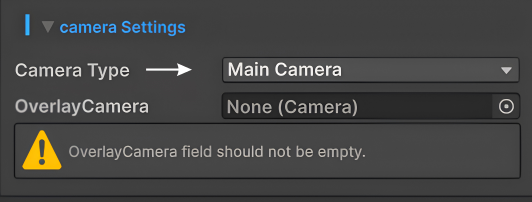
Here you can choose to use MainCamera or Dedicated ExamineCamera.
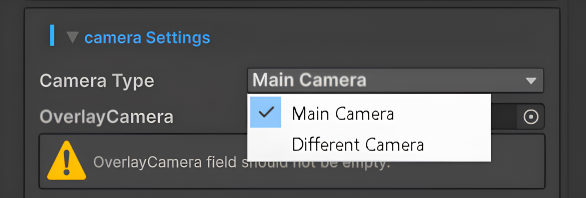
If you will select MainCamera it will automatically detect the camera and use it as examine view.
Ensure that MainCamera have tag MainCamera.
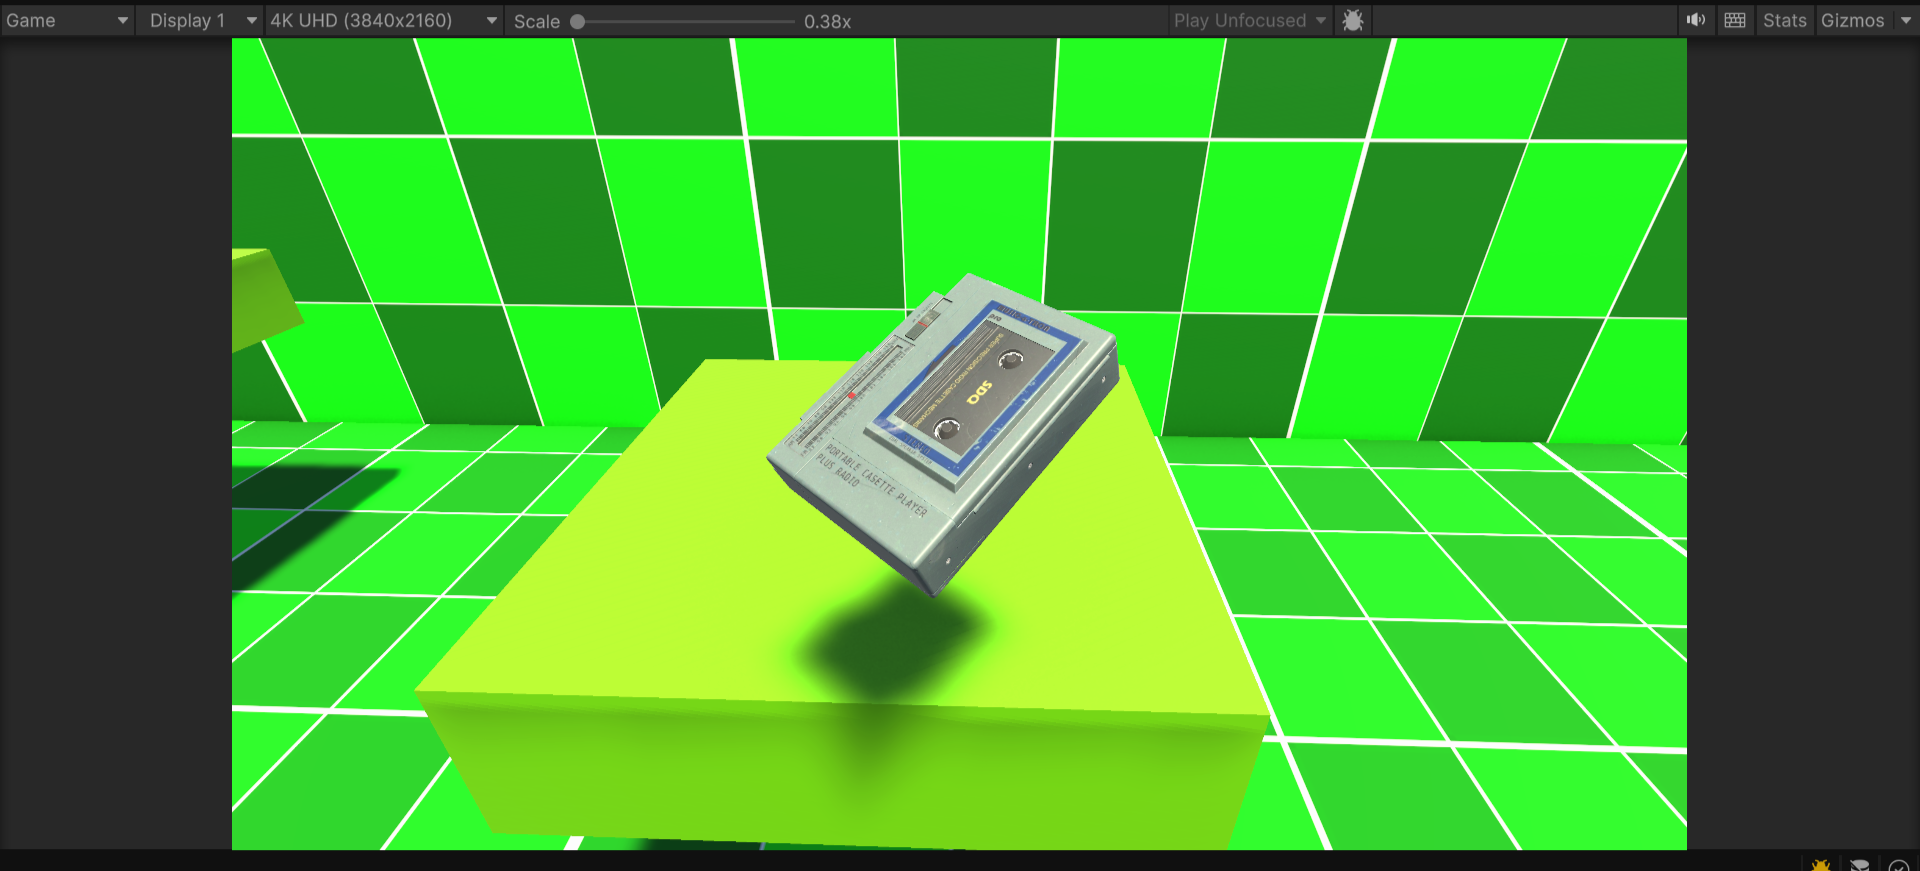
View with main player camera
And now if you will select Different Camera you will see two other options.
-- SeparateCamera and MainCamera State.
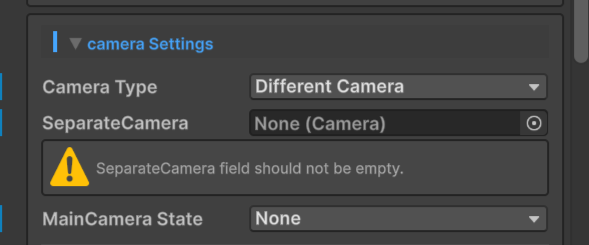
- SeparateCamera
In this field you have to drag your separate examine camera.
- It will be used as your examine view, this can be useful if you want to use different camera rather than your main camera.
Remember to hide Examine Camera, it will be automatically enabled when needed.
View with different examine camera
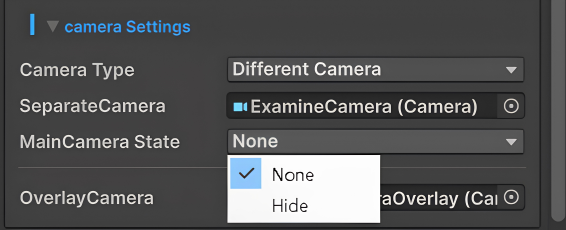
- MainCamera State
Here you can choose what happens to main camera as we will switch to different examine camera in examine state there are two options to select.
-- None and Hide
| Options | Description |
|---|---|
| None | Nothing will happen. |
| Hide | Main camera will get hidden when you will enter examine state and again show when you will exit examine state. |
- OverlayCamera
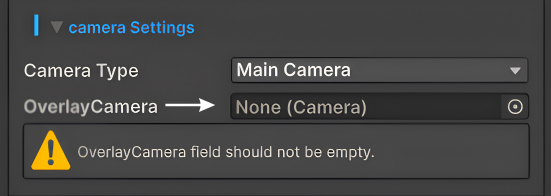
You have to drag your ExamineOverlayCamera here.
Look at Camera Setup page for all other details about OverlayCamera → Camera Setup.
Properties
Here you will see three fields.
- RayLength, DistanceFromCamera and Placement Type.
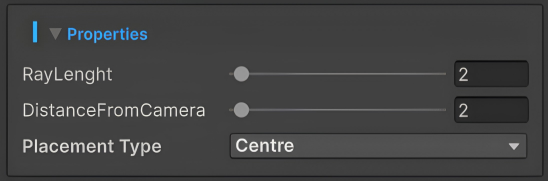
- RayLength → It is length of the raycast that lets you interact with examinables.
- DistanceFromCamera → It defines at what distance your examinable will be placed on screen when you will enter the examine state.
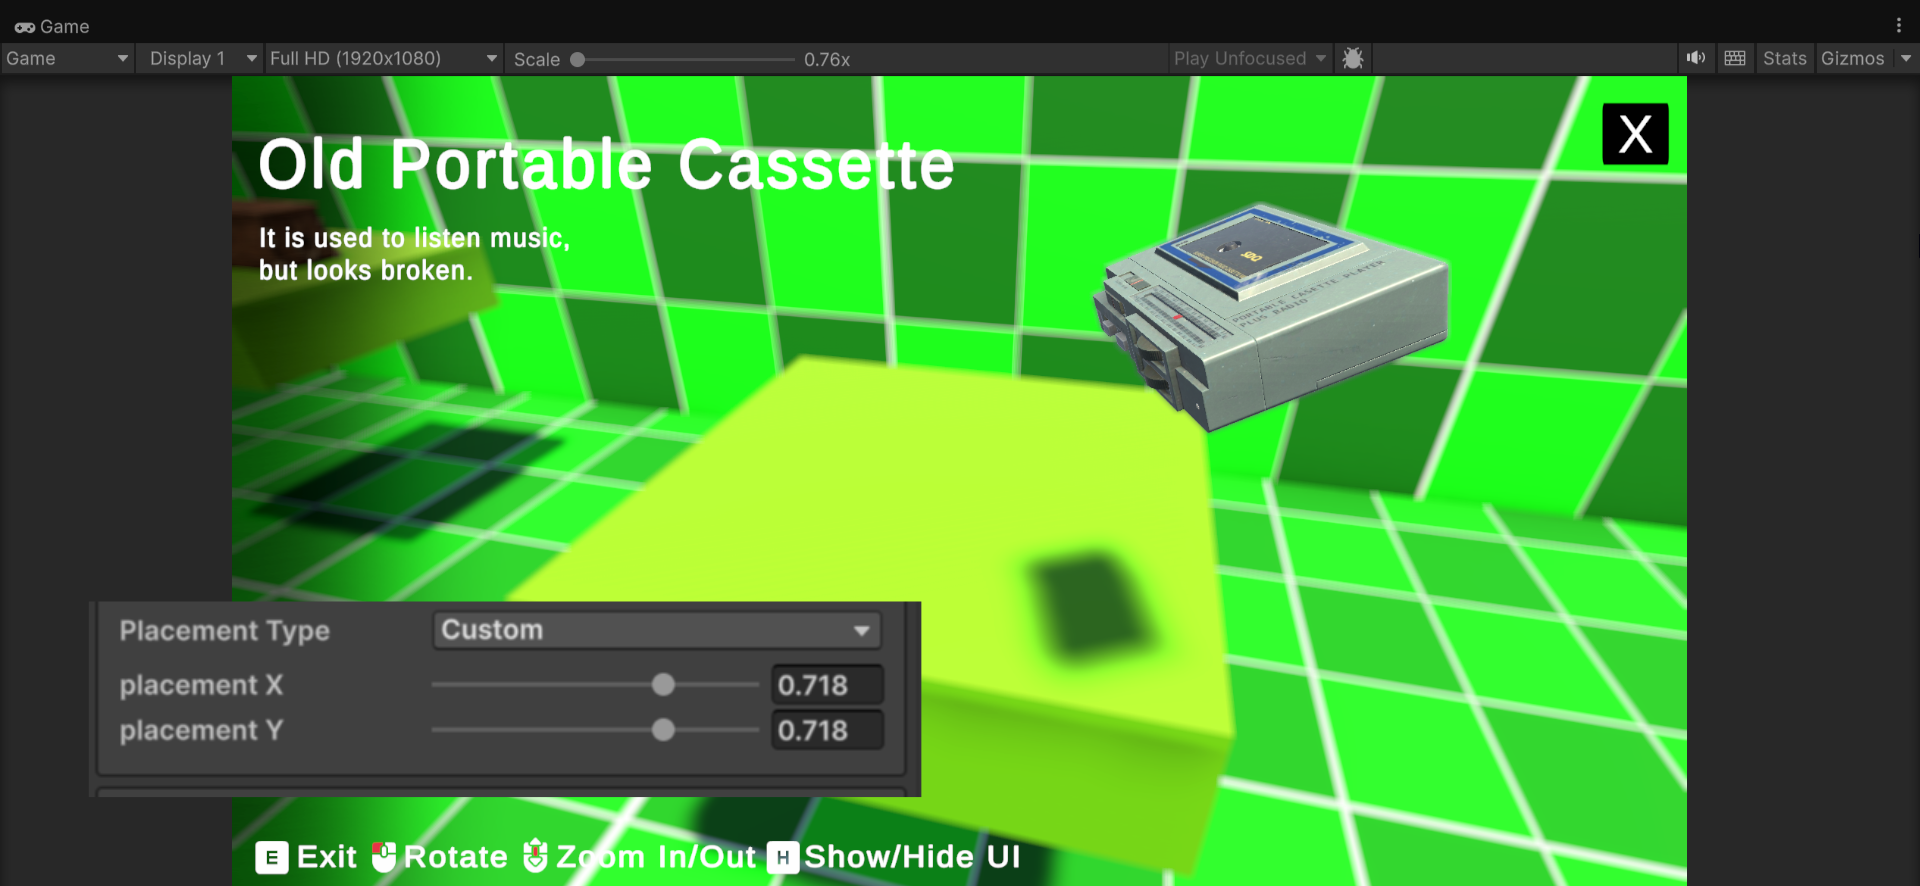
- Placement Type
Here you can choose between Centre and Custom.
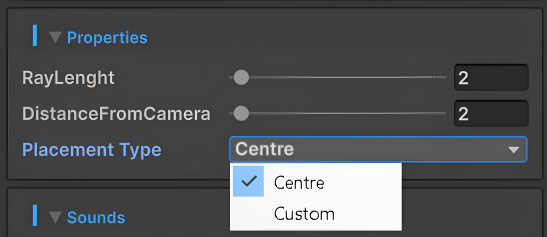
- Centre → If you choose will centre than your examinable will be placed in centre on screen by default.
- Custom:-
Here you can choose custom position on screen to place your examinable.
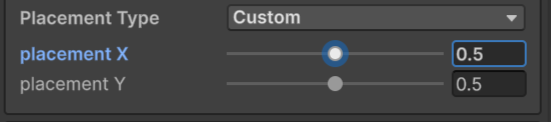
Here are two fields you can change.
- Placement X → Defines position in X axis.
- Placement Y → Defines position in Y axis.
Default value is set to Centre, change values to change your examinable position on screen.
Sounds
Here you will see one option.

- Have Sounds → Enable it if you want to have sounds in your examinables.
After enabling you will see another option.
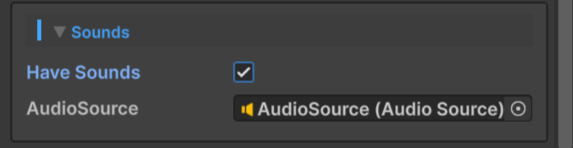
In this field you have to add your AudioSource from where the sounds will play.
Events
Here you will find two fields.
- OnExamineStart and OnExamineEnd
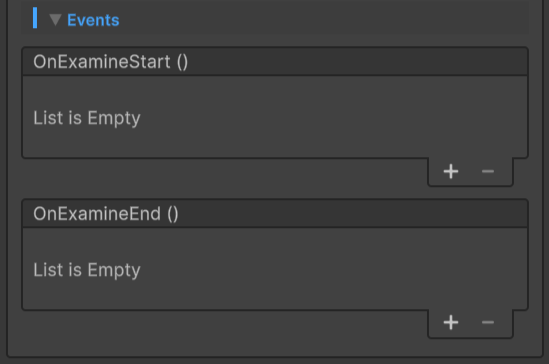
- OnExamineStart → Here you can add a Custom Events that will play when you will enter examine state.
- OnExamineEnd → Here you can add a Custom Events that will play when you will exit examine state.
And that the end you will see one option named Visualize Ray → Enable it, if you want to visualize your raycast in real-time.
Done..🎊